Are you new to survival and want to be better prepared for emergencies but don’t know where to start? You may be a prepper wannabe who wishes to embrace prepping but doesn’t feel that you have the adequate resources to prep. You may also be a prepper newbie who still needs some guidance in sorting through the overwhelming amount of advice and strategies available to you.
No one really knows how many preppers we have around the globe. But in the U.S. alone, we have roughly 3.5 million preppers. While this sounds like a huge number, this only represents about 1% of the total U.S. population. So the big question is, when a major disaster happens, who will take care of the 99%? The U.S. government?
Far from it – the U.S. government is often ill-prepared in major disruptive events. We saw how the government responded to Hurricane Katrina, the 2008 financial collapse, and the novel Coronavirus. The victims of Katrina were forced to wait for days for aid while the government chose to bail out the big corporations long before the populace during the 2008 economic crisis.
The whole point of prepping is to prepare us for such eventualities, reduce the chances of major disruptions, and recover efficiently when these disruptions occur. Whatever category you belong to, this guide walks you through the basic steps with sane expert advice.
STEP 1: Have a Warmth Tool
Our number one step might sound controversial simply because some survivalists would suggest stashing water as the #1 priority. Quotes like “Thousands have lived without love, not one without water” have been spreading because you can only survive about three days without water.
But you cannot survive a night in freezing temperatures without something to keep you warm. And those in winter/northern states will relate to this if power happens to shut down in the scarily cold months of the year.
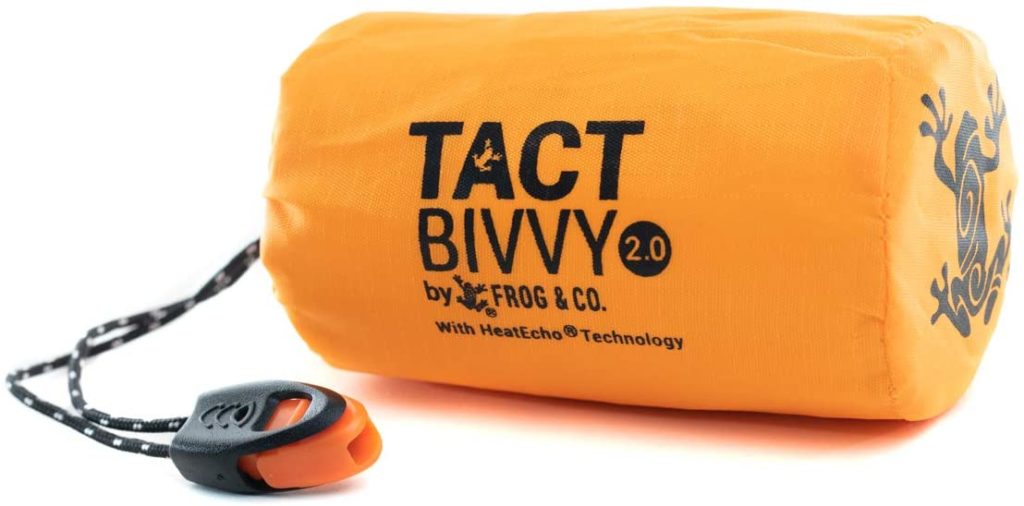
You’ll need some warm clothing, rain gear, sleeping bags, and blankets for each family member. We recommend getting the Tact Bivvy emergency sleeping bag for keeping warm and protecting yourself against wind and rain. Hopefully, you’ll have a fireplace or woodstove with some wood and a fire-starting tool.
STEP 2: Stockpile Water
The average person needs at least one gallon of water per day. This will include water for cooking, hygiene, and washing use. Now calculate how much you’ll need to cover the next two weeks. It may seem like a lot of water, but it’s not. You don’t know how the weather conditions might be. You may need more drinking water if it’s too hot and you’re sweating a lot.
When you want to stockpile water for a family of four for two weeks, it won’t make sense to buy bottled water as it will take up a lot of space and is more expensive than other available options. Well, you may use bottled water if that’s what you can get when given a short time to evacuate an area. Still, you can take this chance and prepare yourself by buying quality water storage containers. It’s important to note that dark or opaque containers block out sunlight, thus preventing the growth of algae in your stored water.
When it comes to water supply, you need to remember two critical things. One is water storage safety. Bacteria and mold are likely to grow in your stored water if you don’t sterile your water using bleach or purifying tablets. Two, any water collected from any source should first be filtered before anyone consumes it. If the urban waterworks fail, it means you’ll be getting unfiltered water. And there are several options to ensure your water is filtered, like LifeStraw, Sawyer, and Big Berkey water filters.
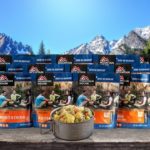
STEP 3: Stockpile Food
Building a food stockpile is relatively easy. Calculate how much your family needs for a day and calculate for two weeks. You can use this daily calorie intake calculator to determine how much food you need per day and subsequently for the 14 days. If you’re new to survival, two weeks of stored up food is easily attainable, and you can survive the short-term disasters.
Since you don’t know when a disaster will happen and need this food, it’s best to find foods with a longer shelf life. Vegetables and fruits that require refrigeration are not ideal for prepping, given how quickly they can spoil with the loss of refrigeration. That’s why you’ll find most preppers target long-shelf-life foods for their food stockpiles.
There are ways to increase the shelf life of food by utilizing things like storage preservatives, canning methods, and vacuum sealed storage bags. Another option many preppers choose is stocking up freeze-dried foods, which have long shelf lives and are available in multiple options. You can also make your own dehydrated foods with the help of food dehydrators, which are becoming a common household item for most preppers. Each one of them has its pros and cons, and it would be best if you compare and contrast to fit your specific needs.
STEP 4: Have Alternative Cooking Methods
Your stored-up food won’t help you if you can’t cook it. This is where many survivalists fail, even the more experienced ones. Building an off-the-grid kitchen means not having to rely on something you get from outside to perform the functions of a kitchen. For instance, if you have an electric hotplate, you won’t be able to use it if there’s a power outage.
Some of the ultimate cooking solutions for preppers include:
- Outdoor kitchen
- Woodstove cooker
- Solar ovens
- Backpacking stoves
- Biogas
- Rocket stove
These are a few of the ways you could cook your food, say if it’s meat that you may have hunted, or water you need to boil before drinking.
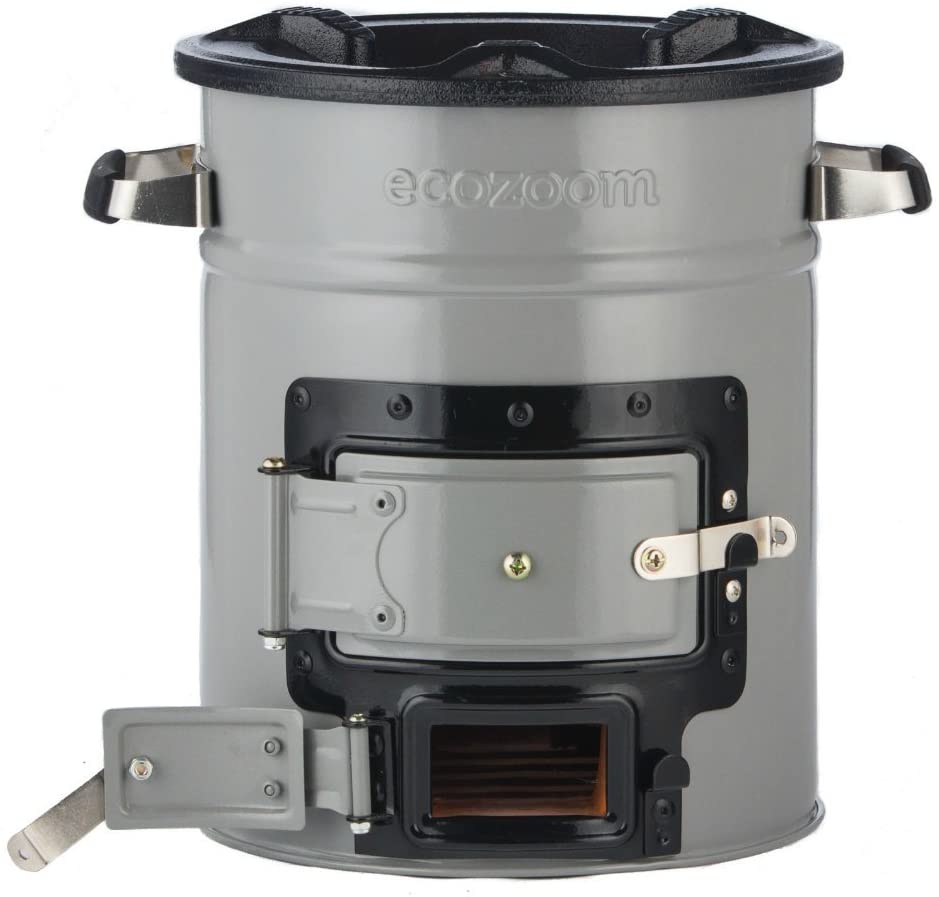
Some of the methods above are not that efficient and may burn your wood stockpile fast than anticipated. Getting a more advanced cooking tool like a rocket stove can help you boil water using a few sticks (one of the best ones is the Eco-Zoom Versa).
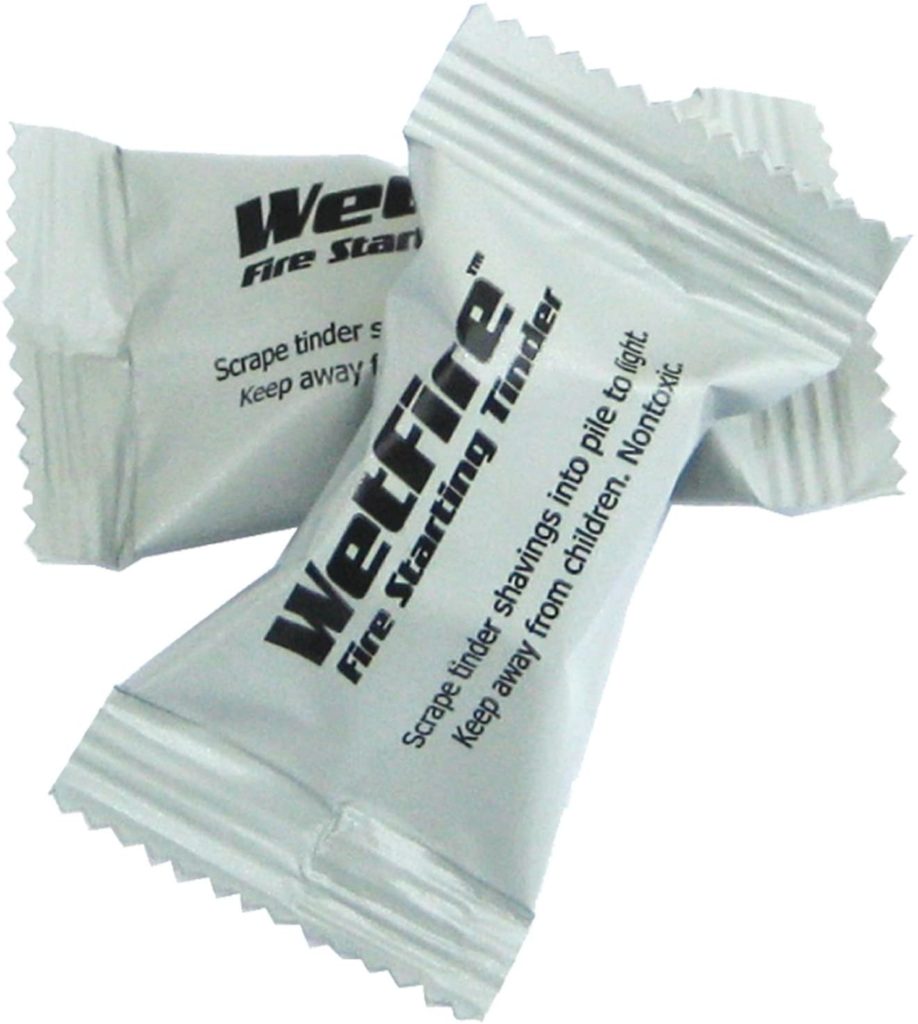
Additionally, remember to stock up fuel for your survivalist stove. You may not have the luxury to wander in the woods looking for twigs. You’d therefore be better off with a stockpile of firewood that will last for at least two weeks. Or even having a supply of emergency tinder packets on hand like UST WetFire Tinder.
STEP 5: Store Up Health and Hygiene Supplies
Your family doctor or ER may be unavailable during a major disaster. When disasters happen, like the pandemic that we experienced in 2020, more often than not, the emergency rooms are full. In worst-case scenarios, the roads leading to hospitals may be dangerous, and doctors may choose to stay at home or prioritize their own family members’ health at home rather than going to the hospital.
So keeping your own basic first aid kit at home and knowing how to use it is critical. You should learn basic first aid and invest in a quality MyMedic first aid kit. You can take a look at the Survival Medicine Kit Guide to teach yourself some of these lessons and then review some of our best selections prior to purchasing your own first aid kit.
Other health and hygiene supplies you may need include:
- Prescription and over the counter medicines
- Toiletries
- Feminine hygienic supplies
STEP 6: Learn Basic Defense Measures
This may be unpopular, but it is extremely vital. In times of crisis, you expect people to misbehave. And the more dire things become, the more dangerous they will be to you, your family, or supplies.
Because defense is vast, we’ll only look at the very basics for entry-level preppers.
If you’re just starting out as a survivalist, we’d recommend investing in your personal defense. And if you’re truly a beginner in the area of personal protection, we advise you to start with a pepper spray – and not a gun.
Get a high-quality pepper spray to deter attackers. They are often easy to use, non-lethal and small. You and your family can also sign up for a basic self-defense course at a local center.
From personal defense, you can move ahead with other defense areas like your home security.
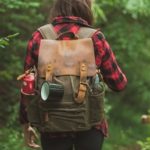
STEP 7: Build a Survival Bug Out Bag
Bugging in or sheltering in is always the preferred method of survival when a disruptive event occurs. And this is true for beginner preppers. Why? Because your home provides you with safety. When there’s some chaos in the city, it’s best for you to bug in.
But when your home is not safe, you may be forced to bug out. For example, when there’s a flood or fire, bugging in may not be possible. That’s why you need to put together a basic bug-out bag that is light enough to carry around when fully loaded. Every family member should have their own best bug out bag filled with essentials that they can quickly grab and be out of the house in under 1 minute.
Our Conclusion
Each of these steps has been written in brief but needs more detailed discussions as to why it’s important and how to organize yourself for each one of them. But still, remember the seven steps we’ve discussed here and work your way through each of them.
Here they are again:
- Have a warmth tool
- Stockpile Water
- Stockpile Food
- Have alternative cooking methods
- Store up health and hygiene supplies
- Learn basic Defense measures
- Build a bug out bag
You can also use this list to expand on your preparations and suggestions made here, like improving your gardening skills.
Like in any new project, it can be overwhelming when starting off as a newbie survivalist. But prepping can literally save your life. The good thing is that we are a community, and we learn from each other.